

A burst pipe can flood a home in minutes, spreading water through walls, floors, and structural materials before a homeowner even realizes what’s happening. The first hour is crucial, as shutting off the water, cutting power to wet areas, and moving valuables can significantly limit damage. Quick action paired with professional restoration support helps prevent mold, structural issues, and long-term repair costs.
A Michigan winter morning has its own rhythm—frigid air settling across the yard, frost clinging to the windows, and ice forming on driveways as homeowners start their day. Everything feels calm until suddenly it isn’t. A frozen pipe gives way behind a wall or under a sink, and within seconds, water begins pouring across the floor. What starts as a small crack rapidly becomes a major emergency as water spreads through flooring, drywall, insulation, cabinets, and personal belongings.
This kind of disaster catches nearly every homeowner off guard. It’s fast, disruptive, and can cause structural damage in minutes if not addressed immediately. The first 60 minutes after a pipe bursts are critical. Water spreads far more quickly than most people realize, and acting swiftly can dramatically reduce the overall damage and restoration costs. Ignoring those first steps—or delaying the response—gives water time to saturate building materials and travel into areas you can’t see.
When water freezes, it expands—putting intense pressure inside the pipe. The ice pushes outward, straining the pipe walls. Interestingly, the break usually doesn’t happen where the pipe is frozen solid. Instead, the pipe often bursts in a weaker spot farther down the line, where liquid water becomes trapped between the ice blockage and the closed faucet. As the pressure climbs, the pipe simply gives way.
Michigan’s deep freezes often happen overnight, when temperatures plummet. Pipes located in areas with poor insulation—like exterior walls, basements, garages, crawlspaces, and unheated utility rooms—are especially vulnerable. Even a small draft or an open garage door can drop the temperature around a pipe enough to freeze it. Homeowners sometimes notice that one room feels colder than the rest, or that a faucet suddenly slows to a trickle—early signs that a pipe is dangerously close to freezing.
Once the pipe bursts and water begins flowing, the damage happens fast. Depending on the pipe size and water pressure, several gallons per minute can pour into the home. Water doesn’t stay put—it travels:
A burst pipe on the second floor can lead to ceiling collapses below. A break in the basement can soak an entire finished living area before anyone even notices. In many cases, by the time homeowners hear the water or see it pooling, it has already spread far beyond the visible area.
This is the single most important step. Locate the home's main shutoff valve and turn it off right away. For many Michigan homes, this valve is located in the basement near the front foundation wall or where the water line enters the home. Some homes also have outdoor shutoffs connected to municipal water boxes. Stopping the water flow instantly reduces the amount of damage your home will face.
Water and electricity are a dangerous combination, so safety comes first. Head to the breaker panel and shut off power to any room affected by flooding. Even if the water hasn’t reached outlets or appliances yet, turning off electricity prevents shock hazards and protects both you and your home.
Once the water is off, open faucets throughout the house to release remaining pressure inside the pipes. Flush toilets to empty the tanks and bowls. This step helps prevent additional pipe failures and reduces slow leaks in damaged areas. It also removes standing water inside the pipes, which helps speed up thawing and repair work later on.
Porous materials absorb water quickly and become much harder to restore. Prioritize moving items like:
Before you begin any cleanup, take a few minutes to capture clear photos and videos of the affected areas. Document the water source, damaged items, standing water, and any visible structural concerns. Insurance companies rely heavily on this documentation to process water-loss claims, and having detailed evidence upfront makes the process much smoother.
Small amounts of water can be removed with towels, mops, or a wet/dry vacuum. This can help prevent water from spreading to other rooms or soaking deeper into flooring. However, keep in mind that DIY tools only address what’s visible—subflooring, wall cavities, and insulation may still be saturated underneath.
Circulating air helps slow moisture absorption:
To keep the damage from spreading:
Water doesn’t spread evenly—it hides in pockets, drips into cavities, and travels behind structural materials. That’s why professional teams begin with sophisticated moisture detection techniques:
Once the moisture mapping is complete, the next step is controlled demolition. Water-damaged materials often can’t be salvaged, especially when they’ve been exposed long enough to promote mold or structural weakening.
Professionals:
Drying a home after a burst pipe requires far more than fans and open windows. Professionals deploy a coordinated system of high-powered equipment:
Moisture levels are monitored daily using industry standards. Drying continues until every affected material—framing, subfloor, wall cavities, and air—is safely within acceptable moisture ranges.
If mold has already begun to grow—or if conditions suggest it likely will—professionals immediately shift into remediation mode.
This includes:
Once the structure is dry and safe, the final phase begins—restoring the home to its pre-loss condition. Professionals replace:
A burst pipe doesn’t start out looking like a disaster, but it becomes one faster than most homeowners expect. What begins as a minor freeze can transform into a full-blown water emergency within minutes, soaking floors, walls, insulation, and personal belongings before you even understand what’s happening. That’s why the first 60 minutes matter more than anything else. Turning off the water, cutting power to wet areas, protecting valuables, and getting professional help on the way can prevent days—or even weeks—of escalating damage. With a fast, focused response and a trained restoration team handling the aftermath, homeowners can stop the crisis before it spreads, protect the structure of their home, and move toward recovery with confidence.
When a frozen pipe bursts and water starts flooding your home, every minute truly counts. Our team responds immediately with the expertise, equipment, and process needed to stop the water, uncover hidden moisture, and begin thorough restoration before the damage gets worse. Whether you’re dealing with a small leak or a major flood, we’re ready to step in and protect your home.
Titus Restoration
📞 (586) 371-5144
📍 72755 Van Dyke Rd, Bruce Township, MI 48065
🌐 https://titusrestore.com/
Discover the latest strategies for effective water damage restoration and how our 24/7 emergency response can safeguard your home.
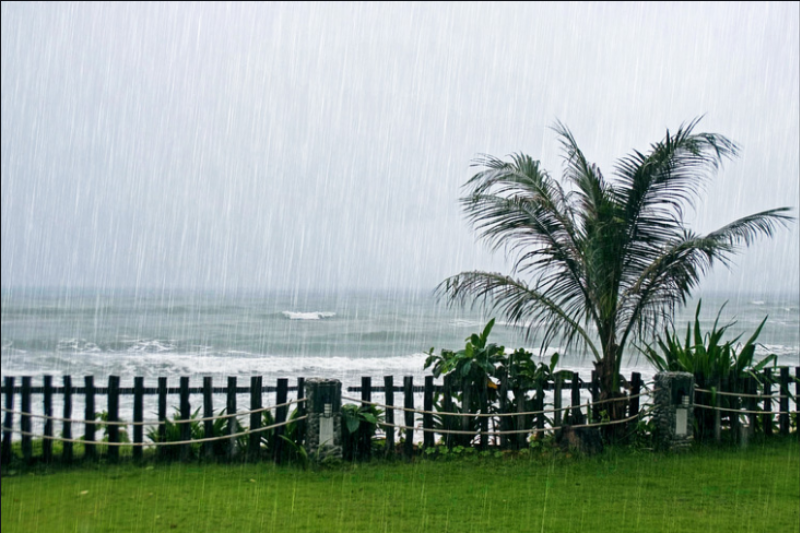
Heavy spring rain in Michigan can place serious stress on foundations, basements, and other vulnerable areas of a home. Water intrusion may lead to flooding, mold growth, structural movement, and hidden moisture damage that worsens over time if left untreated. Early inspections and professional restoration help homeowners identify problems quickly and prevent small issues from turning into major repairs.
Many homeowners make costly mistakes after storm damage by delaying claims, cleaning up before documenting damage, or relying solely on an insurance adjuster’s initial assessment. Hidden issues like moisture intrusion, mold growth, and structural damage are often missed when inspections and documentation are incomplete. Understanding the claims process and working with an experienced restoration contractor can help homeowners protect their property and maximize insurance coverage.
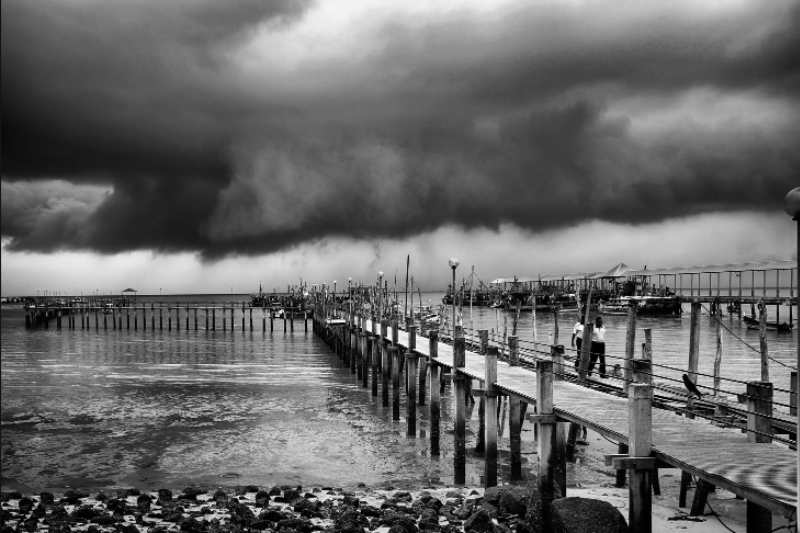
The first 24 hours after tornado damage are critical for protecting your safety, preventing additional property loss, and supporting a successful insurance claim. Proper documentation, emergency mitigation, and fast professional inspections can help homeowners avoid costly secondary damage caused by water intrusion and structural issues. Working with an experienced restoration contractor also helps streamline repairs and navigate the insurance process more effectively.
