

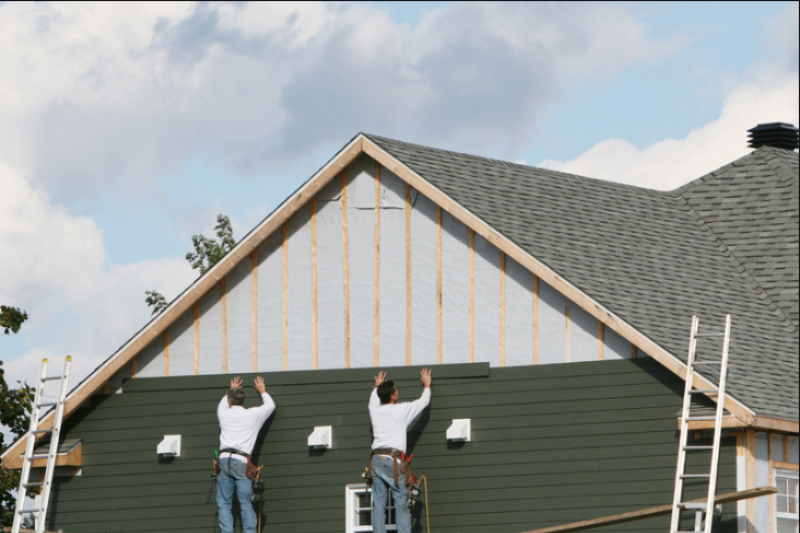
Home emergencies escalate quickly, which makes fast response, clear communication, and proper moisture control critical. Professional restoration focuses on identifying hidden damage, stopping the spread, and stabilizing the environment before secondary problems like mold or structural issues develop. Knowing what happens during an emergency response helps homeowners act quickly and avoid costly delays.
When something goes wrong in your home, the first few minutes can feel unreal. One second everything is normal, and the next you’re staring at water spreading across the floor, a ceiling spot that seems to grow while you watch, or a damp, musty smell that suddenly makes you wonder what’s happening behind the walls. The worry about cost, safety, and whether the problem is going to get worse before you can get it under control.
This is exactly why so many homeowners keep Titus Contracting saved as a “just in case” contact. Emergencies don’t schedule themselves. They show up on weekends, overnight, or right when you’re walking out the door. And when they do, you need a team that moves fast, communicates clearly, and treats your home like it matters—because it does.
This is why a 24/7 restoration company matters. A slow drip can become a soaked ceiling overnight. A washing machine leak can spread into the next room before you finish moving towels. A roof leak during a storm can create hidden saturation long before it starts dripping visibly. The goal in an emergency is to reduce damage momentum—stop the spread, protect surrounding materials, and create a safer environment so your home can recover as quickly as possible.
Before equipment comes in, the priority is identifying hazards and understanding what you’re dealing with.
This is where restoration becomes very different from DIY.
Not all water is treated the same. The source affects safety, cleaning requirements, and what materials can realistically be saved.
Once the situation is assessed, the focus shifts to stopping the spread and stabilizing the environment.
A real drying plan includes follow-through.
Odors are rarely “just smells.” They usually mean moisture remains, contamination is present, or materials have absorbed what they shouldn’t.
In storm situations, early stabilization can prevent a bad situation from becoming a major rebuild.
Storm-related restoration often involves a mix of visible damage and moisture problems that show up later.
Storm-related work often involves insurance considerations, but even outside of that, documentation speeds up diagnosis and repairs.
The first step is understanding where the intrusion occurred and what was impacted.
Depending on what’s found, restoration may involve:
If the entry point stays open—or the vulnerability isn’t corrected—the problem can repeat.
Property emergencies are stressful for one big reason: everything feels urgent at once. You’re trying to protect your home, keep your family safe, and make decisions quickly—often while water is still spreading, ceilings are staining, or a storm has just rolled through. In that moment, clarity is what reduces panic. When you understand what’s happening and what actions matter most, you’re far less likely to lose time on guesswork—or make a well-intended move that accidentally makes damage worse.
Discover the latest strategies for effective water damage restoration and how our 24/7 emergency response can safeguard your home.
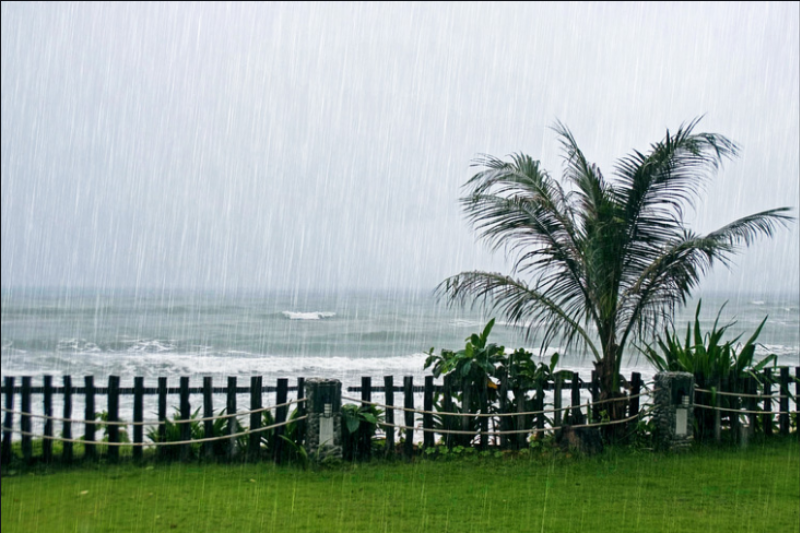
Heavy spring rain in Michigan can place serious stress on foundations, basements, and other vulnerable areas of a home. Water intrusion may lead to flooding, mold growth, structural movement, and hidden moisture damage that worsens over time if left untreated. Early inspections and professional restoration help homeowners identify problems quickly and prevent small issues from turning into major repairs.
Many homeowners make costly mistakes after storm damage by delaying claims, cleaning up before documenting damage, or relying solely on an insurance adjuster’s initial assessment. Hidden issues like moisture intrusion, mold growth, and structural damage are often missed when inspections and documentation are incomplete. Understanding the claims process and working with an experienced restoration contractor can help homeowners protect their property and maximize insurance coverage.
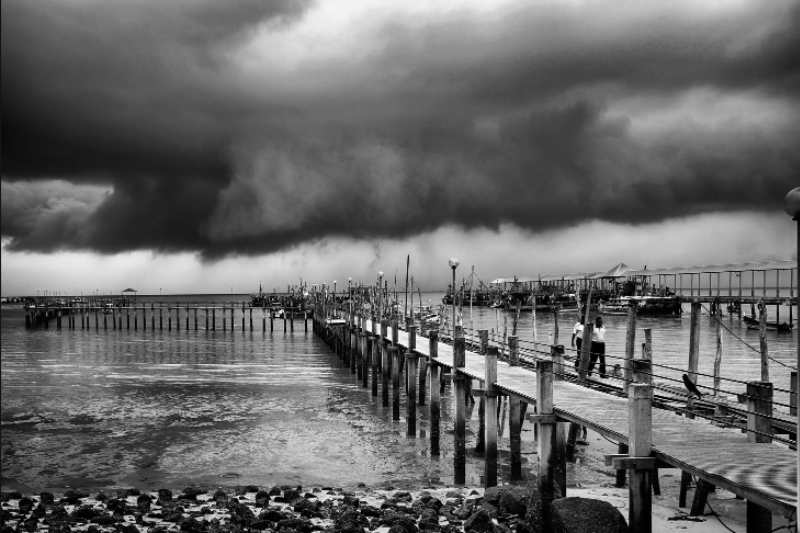
The first 24 hours after tornado damage are critical for protecting your safety, preventing additional property loss, and supporting a successful insurance claim. Proper documentation, emergency mitigation, and fast professional inspections can help homeowners avoid costly secondary damage caused by water intrusion and structural issues. Working with an experienced restoration contractor also helps streamline repairs and navigate the insurance process more effectively.
